Follow these steps to set completion for a group of users through the Manage Credit and Enrollment screen.
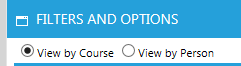
Go to People > Manage Credit and Enrollment in the administrative menu and select View by Course on the Filters and Options pop-up (this is the default).
Use the Course filters to select the course as described in the Select a Course to Manage help screen.
In the Results grid, click the individual check box next to each user for whom you need to set completion.
Remember: If you have some users with a Complete status and other users that have a different status, you cannot process their credit at the same time. You must use two different actions.
Select one of the following from the Actions drop down menu.
Click on Set Defaults in the top toolbar to set the same completion date and course time for all selected employees. This will open the Set Defaults pop-up window.
Enter the completion date and, if needed, the time that it took to complete the course. If the completion date and time vary by employee, this information can be individually entered into the Results grid.

Click Apply Defaults. The completion date and course time should appear in the selected rows of the Results grid.

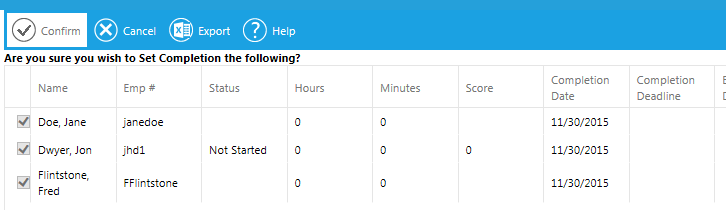
Click the Save button. You will see a confirmation screen. If the information is correct, click Confirm. If you need to make any changes, click Cancel. Cancel will take you back to the previous screen so that you can make any necessary changes.
Once you click Confirm, you will be redirected back to the results grid. All of the selected employees' name(s) should now be in black, confirming that they have been granted a completion.
Go to People > Manage Credit and Enrollment in the administrative menu and select View by Person on the Filters and Options pop-up.
Use the Employee Filter tab to select the user as described in the Select a User help screen.
In the Results grid, select the check box next to each course for which you need to set completion.
There are two actions that can be used to grant credit: Set Completion and Enroll and Set Completion.
Click the Save button. You will see a confirmation screen. If the information is correct, click Confirm. If you need to make any changes, click Cancel. Cancel will take you back to the previous screen so that you can make any necessary changes.
Once you click Confirm, you will be redirected back to the results grid. All of the selected user's name(s) should now be in black, confirming that they have been granted a completion.